
Nature photography is extremely popular as there are endless opportunities to capture and preserve its beauty. It’s also great for beginners because nature photography can be more forgiving than say, portrait taking or indoor shots.
In this article, we’ll give you a few tips to take good nature pictures, so you feel confident when you get out there.

Best ISO Settings
Thinking about what ISO you want to shoot at is a good place to start setting up your camera. ISO is used to help brighten or darken a photo to take clearer pictures depending on the light levels. Ideally, you’ll want to set your ISO to the lowest possible setting. This removes any danger of noise in your photo, which can result in them becoming grainy-looking. A good ISO to shoot for is about 100.

However, your ISO setting will depend a lot on the level of light where you’re shooting. If there’s not much light, it’s okay to raise your ISO, although you can compensate for low light with a larger aperture or slower shutter speed.

Obviously, if you’re taking nature shots in low light, you’ll absolutely need a tripod, otherwise it’ll be impossible to get a good shot unless you plan to use flash.
Best Aperture Settings
Another vital setting at your disposal is your aperture. This is how large or shallow your depth of field is. Depth of field just means how much area is in focus. A smaller aperture (smaller opening, higher F number) will let in less light, but increase the depth of field and vice versa. So, you can use this to your advantage.
For nature photography, your aperture setting will depend on the subject of your shot. If you’re doing a wide landscape photo, you’ll want a higher f-stop to get it in focus. This can be anywhere from f/8 to f/16.

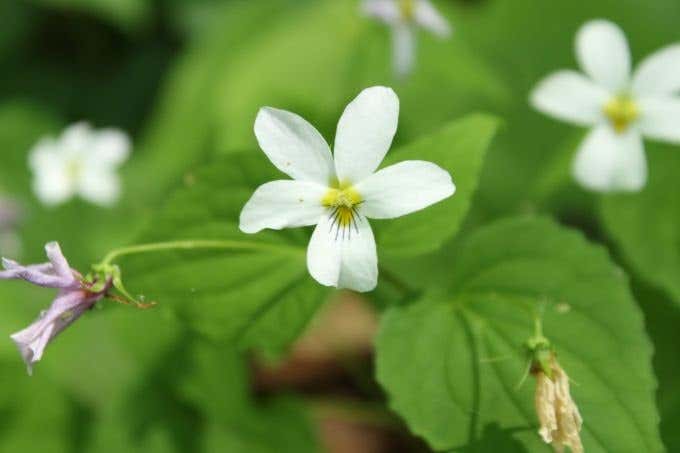
If you’re shooting a single, up-close subject, you’ll want a shallower depth of field to put the focus on the subject. Try an f-stop setting of f/2.8, f/4, or f/5.6. The larger aperture (lower F number) will also allow you to shoot in darker conditions.
You’ll want to try out different apertures to see which works best for your specific shot.
Best Shutter Speed Settings
Shutter speed can help you to keep your photos sharp. Essentially, shutter speed decides how long the camera’s light sensor will be exposed when taking a photo.
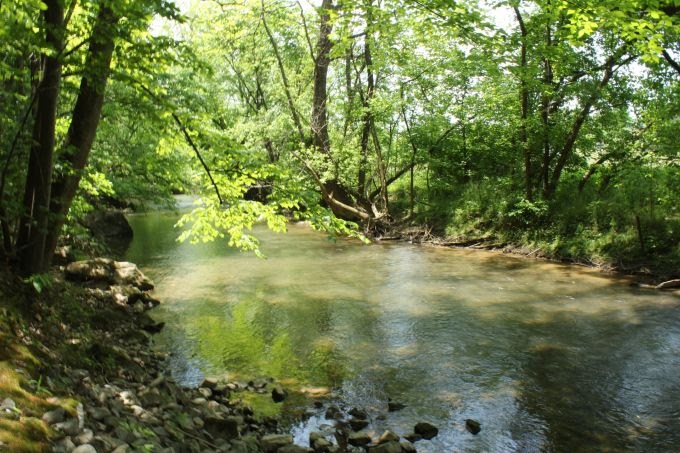
For landscape photography, you’ll want to use a slower shutter speed so the camera can take in more light and give you more detail in the final photo.
If you’re taking photos of moving water, slower shutter speeds can give the water a smooth effect. Using a tripod will be helpful as well.

If you’re taking photos of movement, such as animals or flowers in the wind, you’ll want your shutter speed to be a lot faster so that your photo doesn’t blur. Faster shutter speeds freeze any motion, while slower speeds cause motion blur.
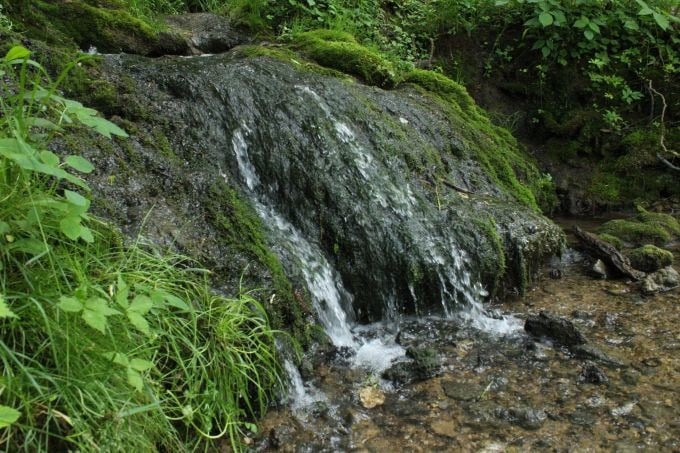
In high shutter speed images like the one above, you can capture details like drops of water even when there is quick movement. You can see how different the water looks versus the slower shutter speed.
Also, you’ll notice we had to compensate for the higher shutter speed by choosing a lower aperture (wider opening, less area in focus) and increasing the ISO (brightens photo, but adds noise).
Best Exposure Settings
To get the most control over your photos, set your camera to Manual mode instead of Automatic mode.
If you don’t want to change settings during your shoot, though, using other exposure mode settings could be a good idea.
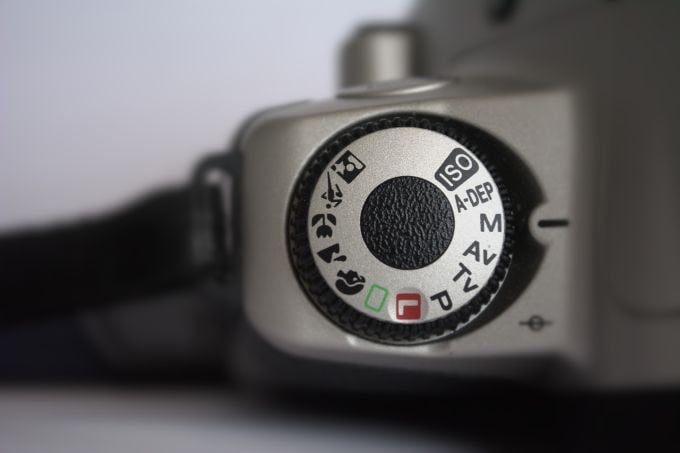
Setting your camera to Aperture Priority, abbreviated to A or Av on cameras, allows you to select your ISO and aperture while the camera adjusts your shutter speed automatically for your given situation. This can be ideal for most nature photography unless you’re shooting something that moves a lot.
Shutter Priority, or Tv mode on most cameras, lets you select the shutter speed you desire and will automatically adjust the aperture to properly expose the image.
Best Focus Settings
To keep the subjects in your photos detailed, the way you focus on them matters. Again, these settings can depend on what exactly you’re shooting. For nature photos, where most of what you’ll shoot will be slow-moving, you’ll be fine using manual focus. Manual focus is best to use in most situations to get the most control over your focus.
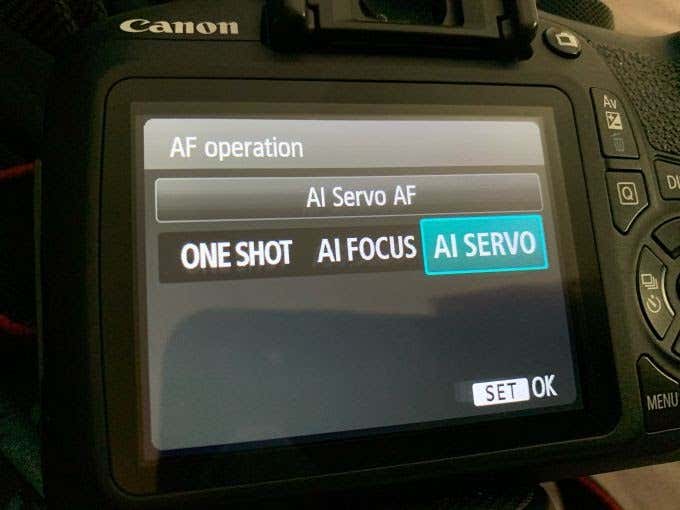
However, if you’re shooting something moving more quickly, you can set your focus to Continuous mode (also called Burst mode), where it will auto-focus on the subject if it moves.
Best White Balance Setting
Your white balance setting will depend on what conditions you’re shooting in to get the most true-to-life color out of your photos. But in the end, you can experiment to find what works best for you. An excellent white balance setting you can use in most situations for nature photography is the Daylight setting.

Shoot in RAW
Taking photos in RAW will leave your photos uncompressed. The amount of detail in a RAW image can make a world of difference when editing for better-looking photos. This is especially true of nature photos where you may have to raise the shadows considerably in order to bring out the details in animals.
If you want to easily share photos, most digital cameras have a setting to capture RAW + JPEG, so you can quickly get photos to your social media profiles and use the RAW images later to edit in Lightroom or your preferred photo editing tool.
Hopefully, this gives you some basic tips if you’re just getting starting with nature photography. Let us know what settings worked for you in the comments. Feel free to share your photos too!