
The camera on your Chromebook wasn’t designed for videoconferencing purposes only. You can use it to take photos, portrait selfies, and even record videos. In this tutorial, we’ll walk you through different ways to take photos and videos on your Chromebook.
As a cherry on top, you’ll also learn some extra tips that’ll help you get the most out of your Chromebook’s camera. By the end of this article, we hope you’d have become a “Chromebook photography expert.”

1. Use the Default Camera App
Chromebooks ship with a camera application built into ChromeOS. Here’s how to use the app to take photos and videos on your Chromebook.
1. Tap the launcher icon at the bottom-left corner of the shelf.
2. Click the arrow-up button to open the ChromeOS Apps Viewer.

3. Tap or click the camera icon to launch the Camera app.
Pro Tip: You can quickly launch your Chromebook’s camera using Google Assistant. Uttering “Hey Google. Record a video” will open the camera app and take a picture or record a video respectively.
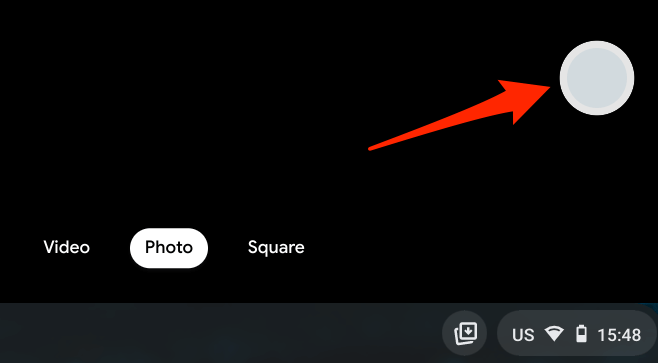
4. The Camera app is always in Photo mode by default, so click the shutter icon to take a picture.
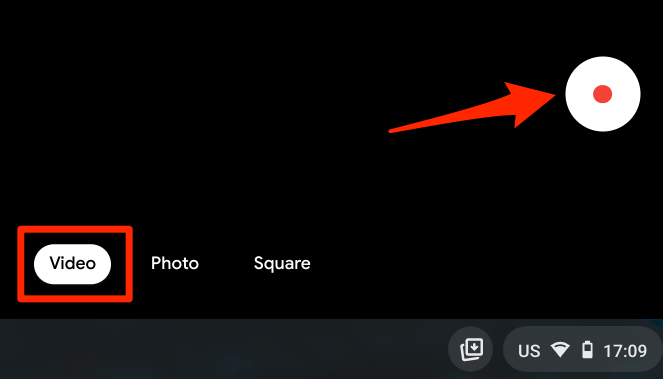
To record a video, navigate to the Video tab and click the Record icon.
Photos you take in the Square tab will have a square dimension or aspect ratio. This is perfect for taking Instagram photos without having to worry about resizing or cropping.

Chromebook Camera App: Icons Explained
You’ll find some icons on the left sidebar when you open the Camera app on your Chromebook. Here’s what the icons mean and their functions:
1. Timer: This is the stopwatch icon at the bottom of the sidebar. Click this icon to capture photos with a 3-second delay after clicking the shutter icon. You can change the timer delay duration to 10 seconds in the camera menu.
2. Grid: Click the square icon that looks like a tic-tac-toe board to show gridlines in the camera windows. Gridlines help to straighten and level the subjects in your photos. Note that grids don’t appear in the resulting photos you capture.
3. Mirroring: This lets you change the horizontal orientation of a photo in real-time. Say you want to capture the image of a book but the texts on the book are in the opposite direction, click this icon to flip the photo preview from left to right, or vice versa.
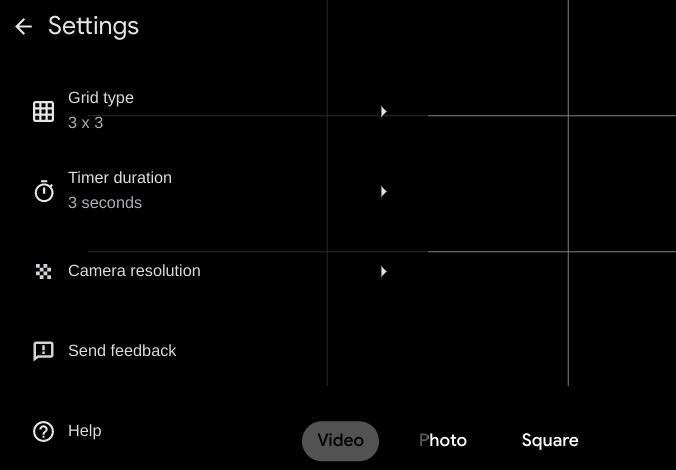
4. Settings: You’ll find more camera configurations in the settings menu. Click the gear icon to modify the camera resolution, timer duration, and grid type.
5. QR Code: You can scan Quick Response (QR) codes on your Chromebook directly from the Camera app. Click the square maze-like icon at the top-right camera of the camera window and center the QR code in the code finder window.
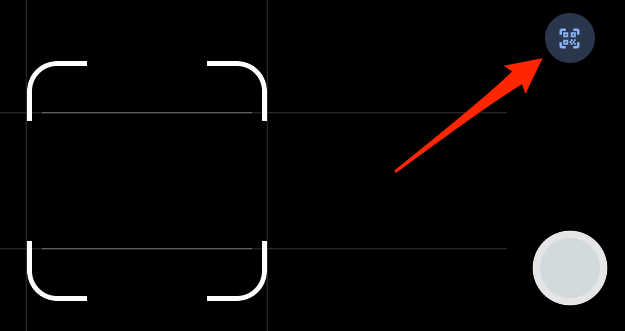
The Camera app will display a link and a copy button when it detects a QR code.
6. Camera Switch: You’ll find a switch icon on the left sidebar if your Chromebook has two built-in cameras. This icon will also appear in the camera window if there’s an external camera connected to your Chromebook.
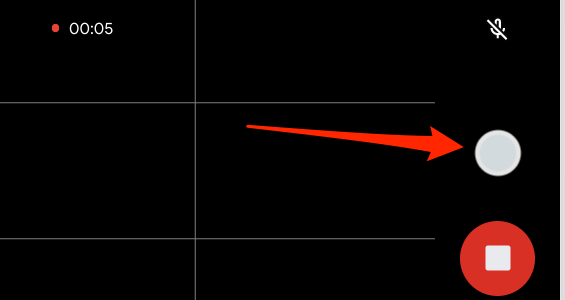
7. Microphone: There’s a microphone icon at the top-left corner of the Video window. Click the icon if you want to mute audio while recording.

8. Video Snapshot: The Snapshot button is the white circle above the Stop button. Click this button while recording to take a photo/snapshot of a scene in the video.
9. Pause: Click this icon to temporarily stop recording a video. Note that your Chromebook will save a paused video when you minimize the Camera app. However, closing the Camera app without stopping the recording will delete the video from your device.

2. Taking Photos in Tablet Mode
If you use a convertible Chromebook that folds into a tablet, or one with a detachable keyboard, you can take photos with the volume buttons. Launch the Camera app and press either the volume up or volume down button to take a photo.
Note that the volume buttons only work as a shutter when your Chromebook is in tablet mode. If you’re using your Chromebook as a laptop, the volume buttons will only increase or decrease the volume level.
3. Use Third-Party Apps
Although the stock camera app on ChromeOS produces decent image and video quality, there are some amazing camera apps that deliver the ultimate photography experience. Some of these third-party apps come with sport advanced camera features like background blur, unique stickers, high-end filters, etc.
Typically, many Android camera apps on the Playstore should work on Chromebook. We recommend that you try some of the apps in our best camera apps for Android compilation. They are compatible with ChromeOS and they all worked perfectly on our test Chromebook.
View Photos and Videos on Chromebook
There are several ways to view your photos and video on a Chromebook. We list some of them below.
From the Files App
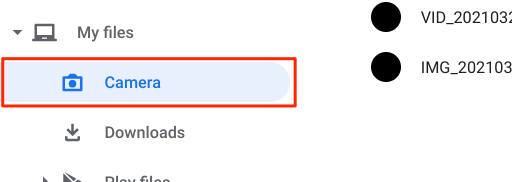
On ChromeOS, photos and video recordings from the Camera app are saved in the system-generated Camera folder. Launch the Files app, go to My files > Camera and double-click or tap your pictures and videos to view them.
For Chromebooks running Chrome OS 76 or older, the Downloads folder is the default directory for photos and videos. So, if you don’t find a Camera folder in the Files app, delve into the Downloads folder.
Media files (photos, videos, GIFs, etc.) from third-party applications are saved in the Images directory.
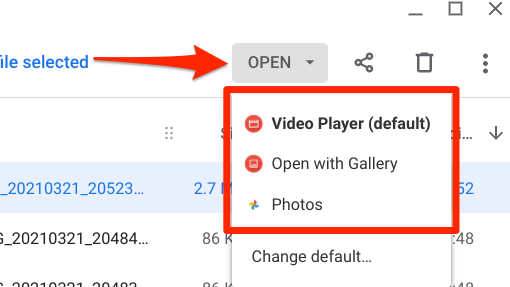
By default, your Chromebook will open media files using the built-in Gallery app. To use another app, select or long-press the file and click the Open drop-down button on the menu bar. Afterward, select your preferred app.
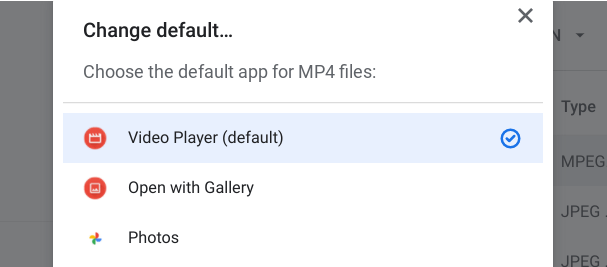
To change the default media viewer, click Change default and choose the default app for viewing photo files.
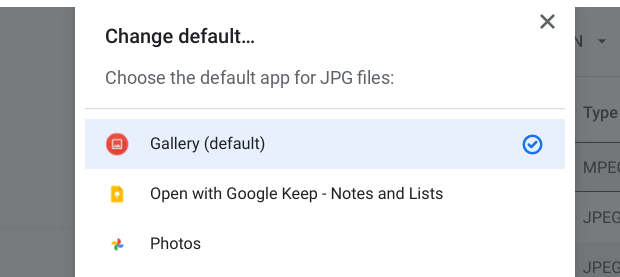
You’ll need to repeat this step to change the default app for playing videos. Select a video file, click the Open drop-down button, select Change default, and choose your preferred app.
View Photos and Videos from the Camera App
This is pretty straightforward: Click the thumbnail of the most recent video or picture you captured. The image thumbnail sits right below the shutter icon.

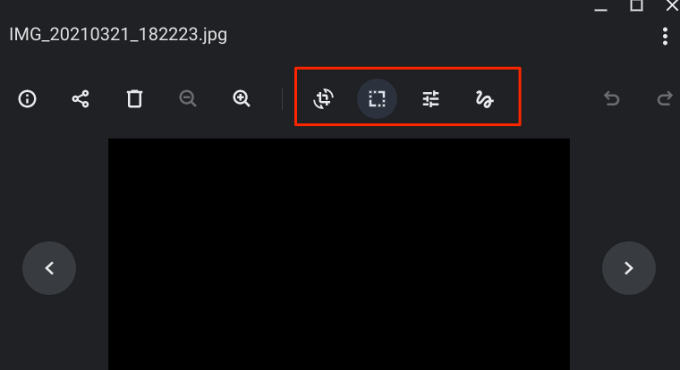
That will open the built-in Gallery app. Click the left-facing arrow icon to view the previous photo/video, or the right-facing arrow icon to view the next item. To edit photos within the Gallery app. On the menu bar, click the icons to the right of the divider to add filters, crop, rotate, rescale, or annotate your photo.
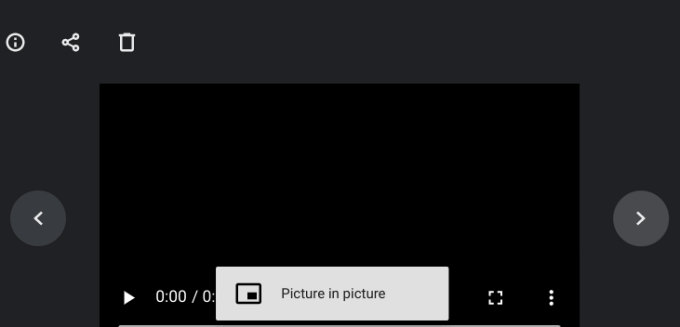
The default video player has the basic controls you need. There’s a play/pause button, mute icon, volume slider, full screen mode, and picture-in-picture option—click the three-dot menu icon to access Picture in picture.
Take Photos, Create Memories
A Chromebook’s camera is usually not high-end, therefore don’t expect the photo and video quality to be as good as your smartphone’s. An external webcam could improve image and video quality when you take a photo or video on a Chromebook, so plug one into your Chromebook if you have any.
source https://www.online-tech-tips.com/computer-tips/3-ways-to-take-a-photo-or-video-on-a-chromebook/