
Here’s a common scenario: You’ve received a Word document via email that you’re required to sign and send back. You could print, sign, scan, and return the document, but there’s an easier, better and faster way to insert a signature in Word.
This guide explains how to quickly insert your signature into any Microsoft Word document regardless of the device or platform you use.

How to Insert a Signature in Word
You can add your handwritten signature to a Word document to give it a personal touch.
However, suppose you need to send a digital copy of the document via email or other electronic means. In that case, you can scan your signature, save it as an image and then insert the signature in the document. Here’s how.
- If your signature is saved as an image on your computer, open the Word document you need to sign and select Insert.

- Next, select Pictures > Picture from File (or From this device).
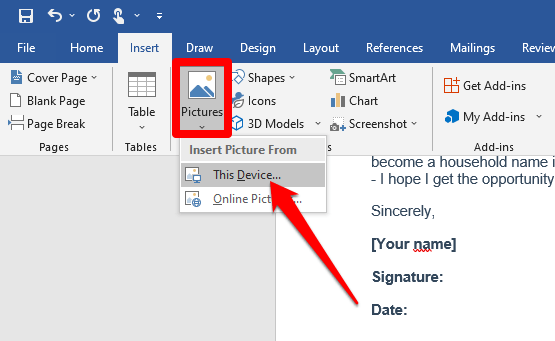
- Go to where the scanned image of your signature is saved, click on the file and select Insert.

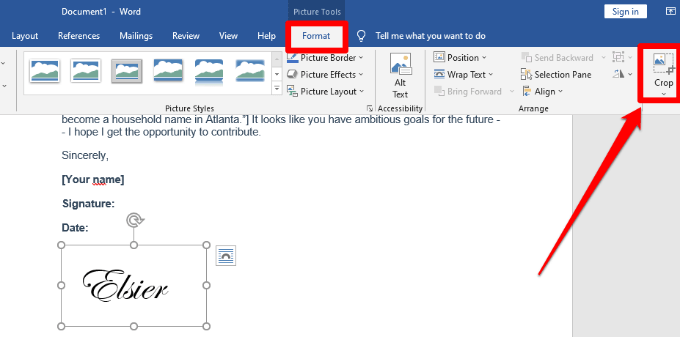
- Go to the Picture Format tab and select Crop and adjust the image to your desired specifications. Click Crop again to exit crop mode.
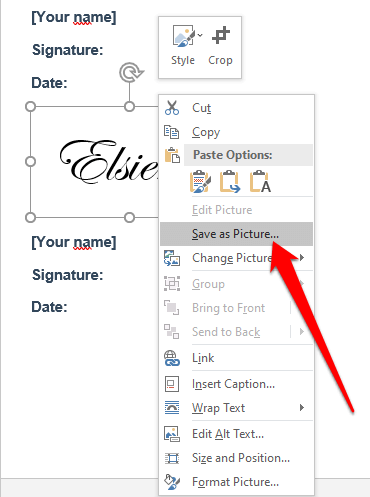
- Right-click the image and select Save as Picture. You can use the same signature image in other Word documents or insert the signature in a PDF document or Google Docs.
Use Quick Parts and AutoText to Insert a Signature in Word
Word provides built-in tools like Quick Parts and AutoText to help create a complete signature, which could include your handwritten signature, email address, job title, phone number, etc.
Here’s how to use these tools to insert a signature in Word.
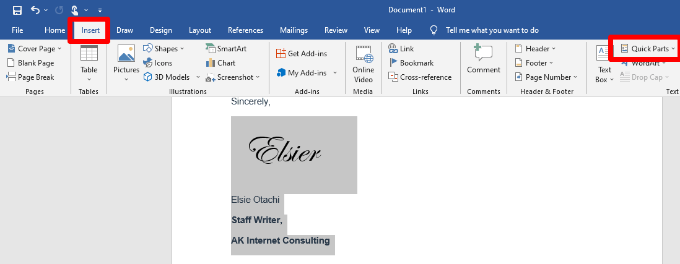
- Insert your scanned signature image in a Word document and then type the text you want to use under the signature.

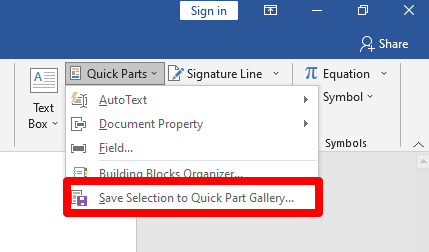
- Use your mouse to select and highlight the signature and text, and then select Insert > Quick Parts.
- Select Save Selection to Quick Part Gallery.
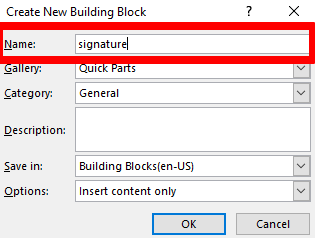
- In the Create New Building Block dialog box, type a name for the signature block.
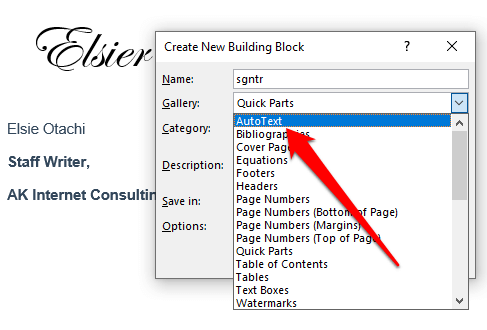
- Select AutoText in the Gallery Box and click OK.
- Your signature block will be saved, and you can insert it in other Word documents by selecting Insert > Quick Parts > AutoText and select the name of the signature block.

Insert a Digital Signature in Word
There’s a difference between an electronic and digital signature:
- An electronic signature is an image of your signature that’s overlaid on top of a Word document, which is what you’ve inserted in the previous section.
- A digital signature is an electronic but encrypted form of authentication on a document that verifies that you have seen and authorized the document.
You can insert a digital signature in Word to authenticate your identity. If the document already has a signature line, you don’t have to add one, but if there’s no signature line, you can add one quickly using these steps.
- Create a signature line in the Word document by selecting Insert > Signature Line > Microsoft Office Signature Line.

- Type the details you want to appear under the signature line.
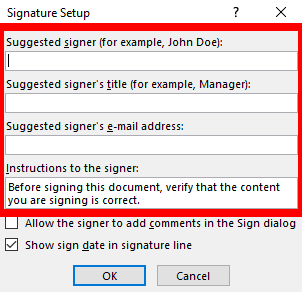
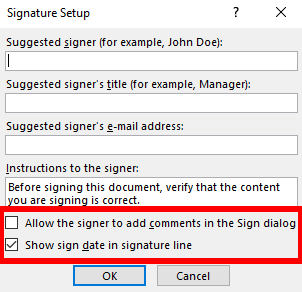
- Check the following boxes:
- Allow the signer to add comments in the Sign dialog
- Show sign date in signature line
Doing this allows you to provide a purpose for signing and add the date the document was signed.
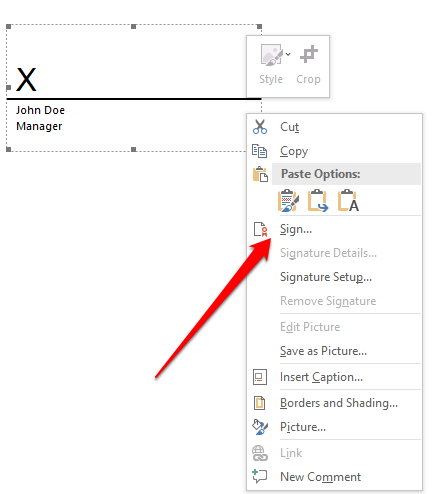
- Next, right-click the signature line and select Sign from the menu.
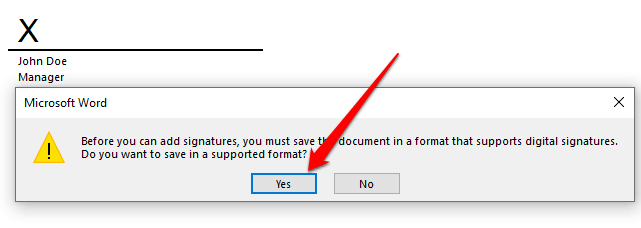
Note: Select Yes to save the file in a supported format, and select Edit Anyway if the file opens in Protected view. If you’re opening a file you received, make sure you trust the document is from a reliable source.
- Get a digital ID that will allow you to add a text or image version of your signature in the box.

Remove a Digital Signature from Word
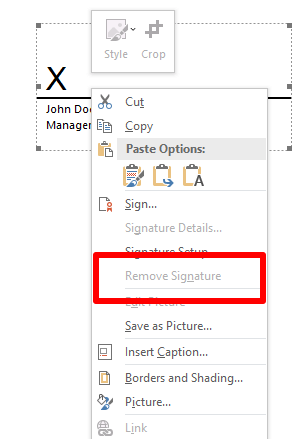
If you accidentally added the wrong signature and want to remove it, open the document that contains the signature and right-click the signature line.
Select Remove Signature > Yes. Alternatively, select the arrow next to the signature in the Signature Pane and then select Remove Signature.
Note: A signed Word document will have the Signatures button at the bottom of the document, and the file will become Read-only to prevent further modifications.
Insert an Invisible Digital Signature in Word
An invisible digital signature works just like a visible digital signature and protects the authenticity of your document’s content. You can add an invisible digital signature using the following steps.
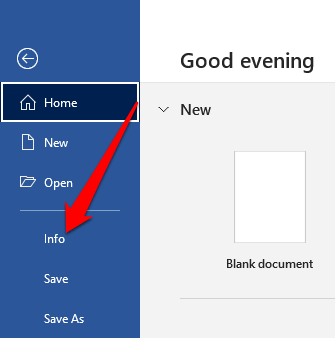
- Select File > Info.
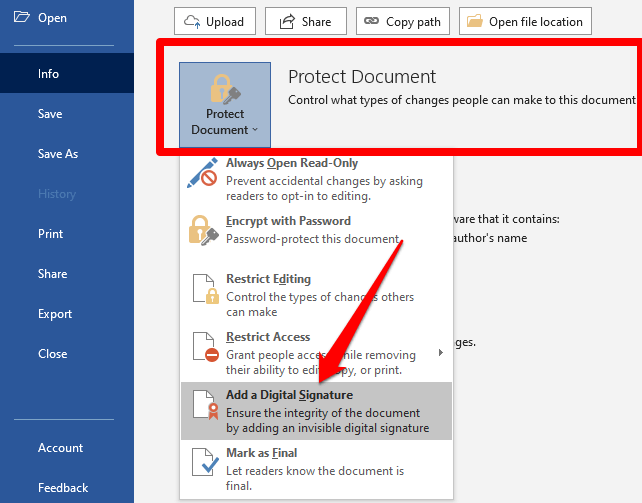
- Select Protect Document > Add a Digital Signature.
- If you’re asked for a digital ID, select OK. You can go with a Microsoft partner such as GlobalSign if you don’t have a security certificate for your signature, or use the Selfcert tool to create your own digital certificate.

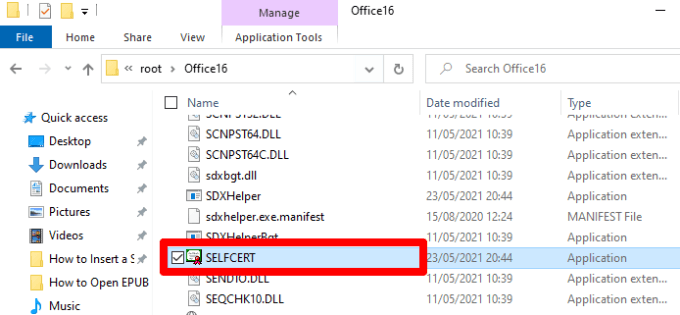
- To use the Selfcert tool, go to the Microsoft Installation folder on your PC by selecting File Explorer >This PC > Local Disk/Windows (C:) > Program Files > Microsoft Office > root > Office 16 and scroll down to the SELFCERT file.
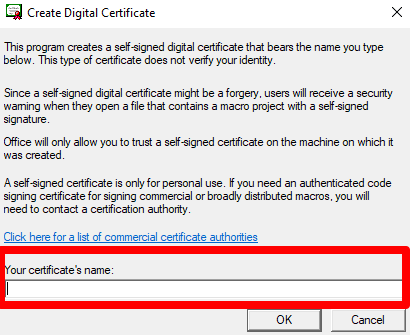
- Double-click the SELFCERT file to open it and type a name in the Your certificate’s name field.
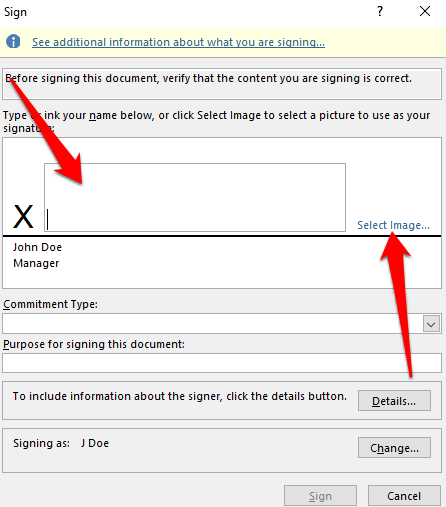
- Once you install the certificate, double-click the signature line on your Word document. In the Sign dialog box, type your name as the signature or click Select Image to insert your signature as an image.
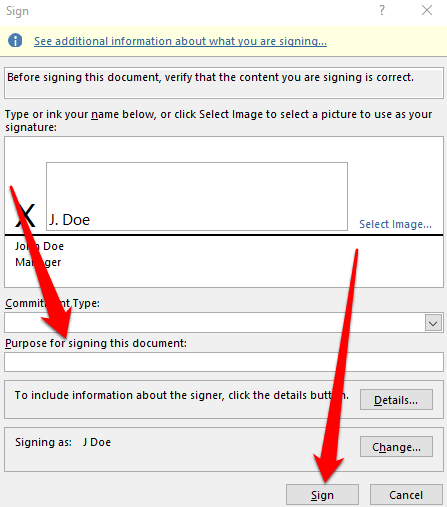
- Fill out the Purpose for signing this document box and then select Sign to insert the signature.
- If you get a notification asking whether you want to use the certificate, select Yes.

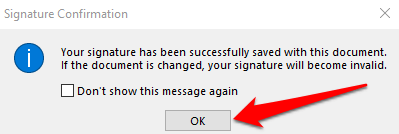
- Word will confirm that your signature has been successfully saved. Select OK.
Use a Third-Party App to Insert a Signature in Word
If the functionality in Word doesn’t offer enough options for you to insert a signature, you can use a third-party app like DocuSign to quickly sign and send your documents. Here’s how to use DocuSign to sign a Word document.
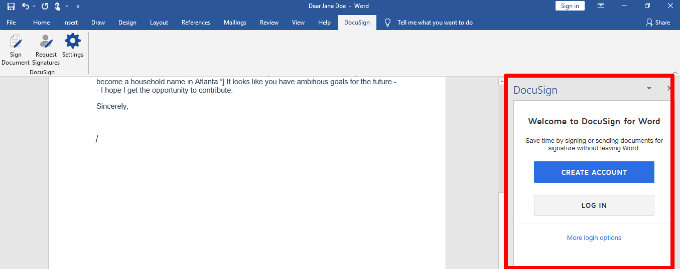
- Install DocuSign add-in in Word. Select DocuSign > Sign document.

- If you have a DocuSign account, log in with your username and password. If not, you can create a free DocuSign account and sign in.
- Drag and drop the signature field to insert the signature in the document.
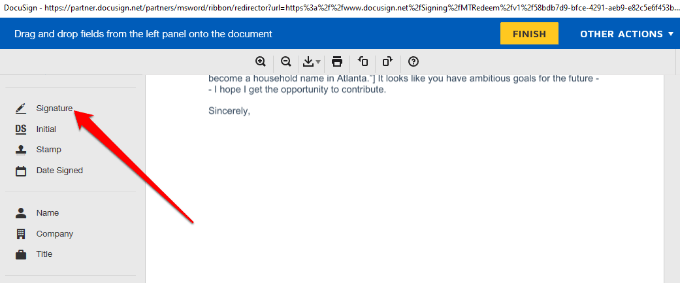
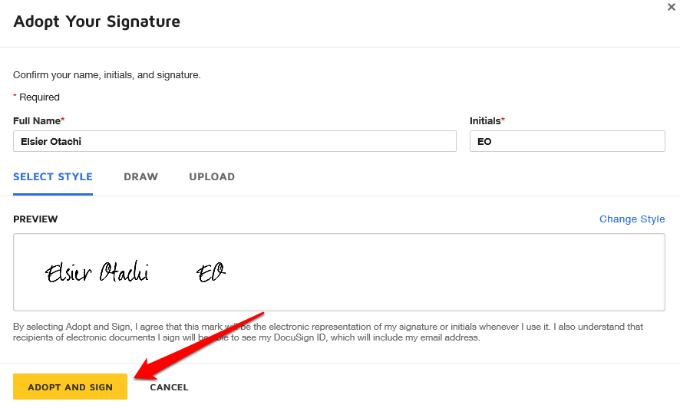
- Select Signature and add your signature to the relevant fields and then select Adopt and Sign.
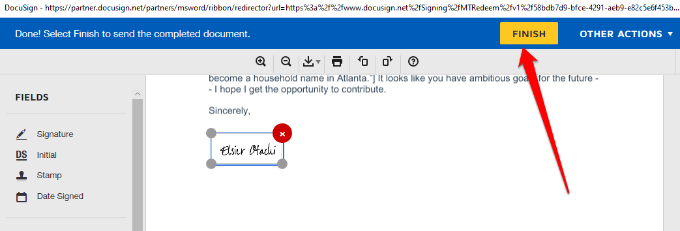
- Select Finish to sign the Word document.
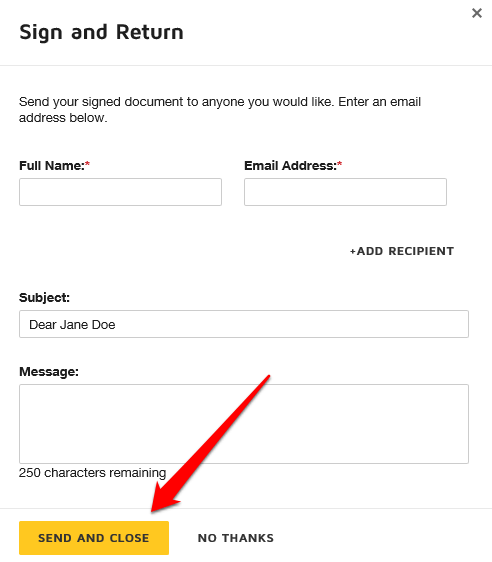
- In the Sign and Return window, enter the name and email address of the person who requested your signature so they can receive a copy, and then select Send and Close.
Sign Word Documents Faster
Electronic signatures have made it convenient to sign documents like contracts or sale agreements. This saves time and resources that would otherwise have been spent trying to print, scan and send back the signed paperwork.
If you’re using a Mac, check out our guide on how to sign a PDF on Mac.
Leave a comment and let us know if this guide helped you insert a signature in Microsoft Word.