
The more mobile you are, the more important it is to have access to your files no matter where you are or which device you’re using. Back in the old days, your electronic files all lived on your computer, so if you weren’t near your computer, you couldn’t access your files. That all changed with the advent of high-speed internet and cloud storage services offered by companies like Dropbox, Amazon, and Google.
Ironically, the past year’s stay-at-home orders and pivot to remote working have also increased the need and desire for cloud storage. Many schools and employers have turned to Microsoft 365 to keep students and workers connected. For file storage, that has meant the adoption of OneDrive for school or work.

If you’re a new OneDrive user, either for school or work, keep reading for a few tips for using Microsoft’s cloud storage service.
1. Understand Your OneDrive Status Icons
When saving files to OneDrive, you can choose to make your file available online-only or offline. The OneDrive Files On-Demand feature allows you to access everything you’ve saved to your cloud storage without downloading a local copy of every file. Instead, you’ll see your files listed in your file manager along with status icons indicating whether each file is online-only, locally available, or always available.
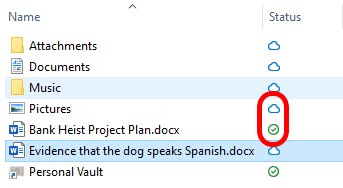
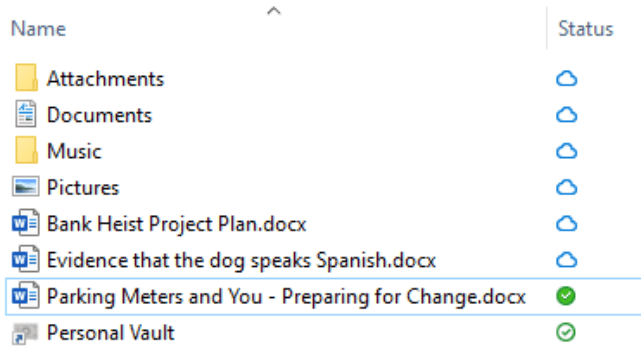
A blue cloud icon indicates that the file is online-only. A green checkmark in a circle appears by files that are locally available on the device you’re using.
Files you have opted to always keep on your device will display a solid green circle with a white checkmark.
If you open an online-only file on your computer or another device, it will download and become locally available. Being locally available means you can open the file even if you don’t have an internet connection. To free up space on your hard drive, right-click the file and select Free up space.
2. How to Turn on Files On-Demand
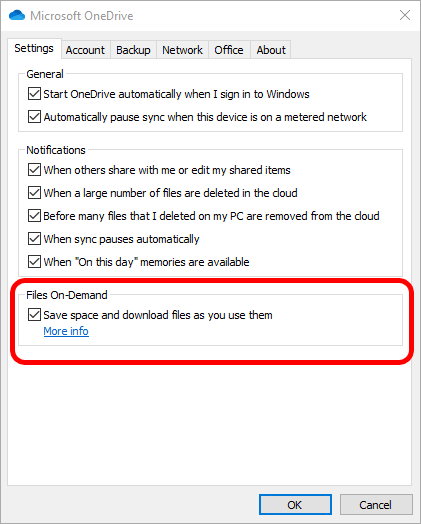
PC users can follow these steps to turn on Files On-Demand.
- Select the OneDrive icon in the system tray.
- Select Help & Settings.
- Select Settings.
- On the Settings tab, check the box for “Save space and download files as you use them.”
Mac users can turn on Files On-Demand by following these steps:
- Select the OneDrive icon in the menu bar.
- Select the …More button.
- Select Preferences.
- Select the Turn on Files On-Demand button.
3. Turn on Storage Sense for PCs
Windows 10 users have the extra option of turning on Storage Sense, which automatically sets any OneDrive files you haven’t opened in the last 30 days to online-only if you’re running low on disk space.

You can also set Storage Sense to run every day, week, or month instead of only when you’re getting low on disk space.
4. What you Should Know About the OneDrive Personal Vault
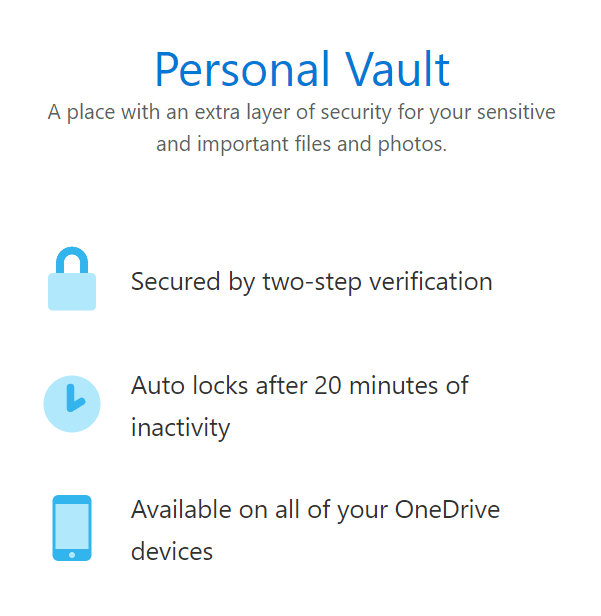
While all the files you save to the OneDrive cloud are protected by Microsoft’s security measures, the OneDrive Personal Vault offers an extra layer of protection for sensitive files.
When you save files to your personal vault, you must use strong authentication or a second identity-verification step to access them. Depending on your device, that could be your face, your fingerprint, a PIN, or a code sent to you by text or email.
The files in your Personal Vault are encrypted at all times, including when they’re in your vault and when they’re traveling between the cloud and your device. Moreover, the files in your vault are scanned for viruses and monitored for suspicious activity, including ransomware.
The Personal Vault appears as a folder within your OneDrive. Simply save to the vault to get the benefits of all that extra security.

Note: Users without a Microsoft 365 subscription are limited to three files in their Personal Vault.
5. How to Upload Files to OneDrive
If you’re using OneDrive for school or work, there are multiple ways to upload files to your OneDrive cloud.
Upload Files Using Your Browser
You can always access OneDrive in a browser. The steps below work for Chrome and Edge and may slightly differ if you’re using a different browser.
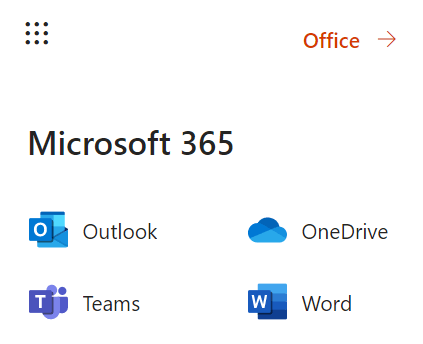
- Sign into office.com and select the app launcher in the top-left corner of the page and select OneDrive.
- Select Upload > Files or Folder.
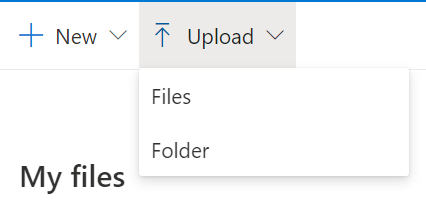
- Choose which files or folder you want to upload and select them.
- Select Open or Select Folder.
Upload Files Using Your Desktop
If you’re using a computer with Windows 10, OneDrive is already installed. Simply save or move your files and folders to the OneDrive folder to make them accessible on all your devices via OneDrive.

If you’re not signed into OneDrive, select the Start button, search for OneDrive, and launch the app. Follow the instructions to sign in.
Similarly, Mac users can automatically upload files to OneDrive by copying or moving them to the OneDrive folder using the Finder or by saving them to the OneDrive folder from an app.
6. Sharing Files in OneDrive
Sharing files couldn’t be easier with OneDrive. On your computer, right-click on the file and select Share.
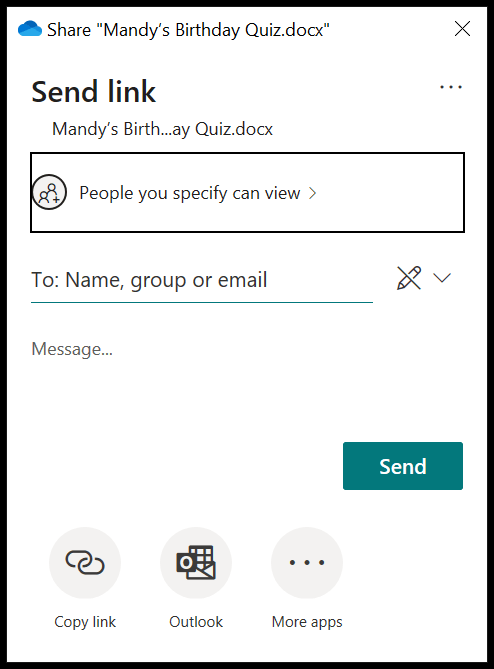
Choose who you want to share your file with, add an optional message, and then either select the Send button or choose to copy the link or send via another app on your device.
7. Restore a File or Folder in OneDrive
OneDrive has a recycle bin where you may be able to restore a file or folder you accidentally deleted.
- From OneDrive in your browser, select the Recycle Bin.
- Select the file you want to restore.
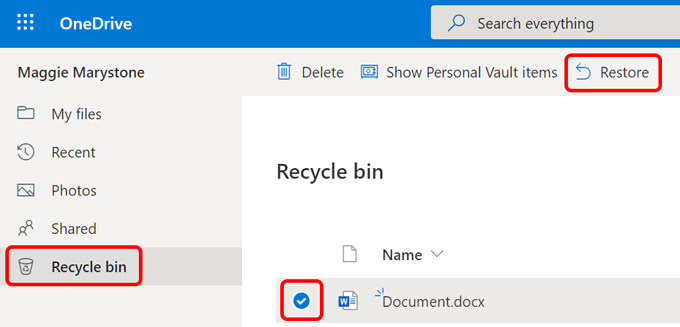
- Select the Restore button.
8. How to Put Expiration Dates and Passwords on Your OneDrive Files
While this feature isn’t available for free accounts yet, some Microsoft 365 users have the option to put expiration dates and passwords on their files in OneDrive. If this feature has been enabled in the OneDrive Admin Center, here’s what to do.
Note: This only works when sharing a link anonymously and not when you choose to share with specific people.
- In a web browser, select a file or folder you want to share.
- Select share.
- In link settings, choose when you want access to the file to expire.
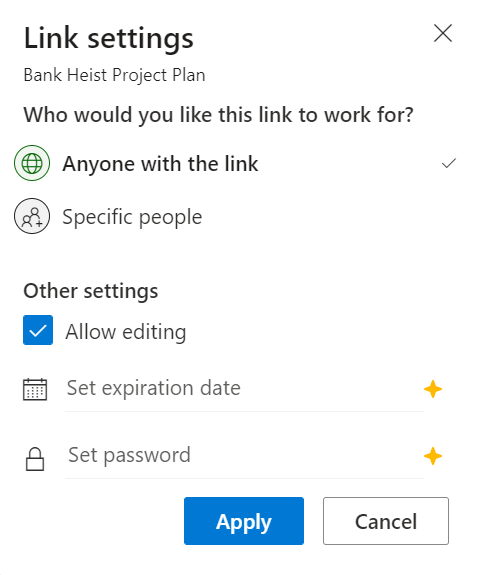
- Add a password if you want.
- Select the Apply button.
Get More Out of OneDrive for School or Work
The tips above just scratch the surface of what you can do with OneDrive for school or work. Learn how to solve sync issues, use symbolic links to sync any folder on your computer with OneDrive, or, if you’re feeling salty, disable OneDrive completely.
source https://www.online-tech-tips.com/ms-office-tips/onedrive-for-school-or-work-8-tips-for-beginners/